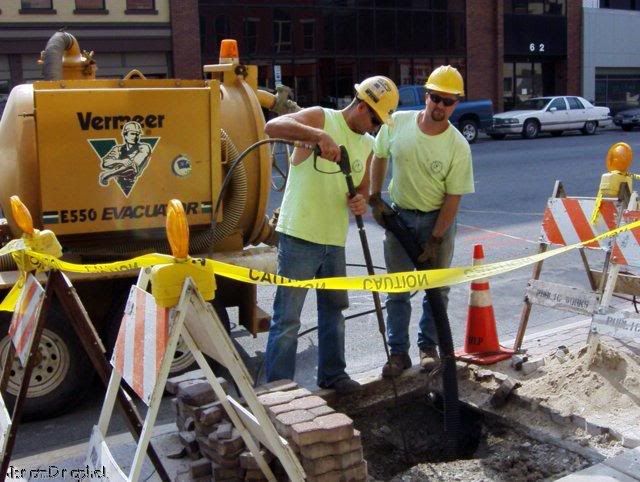
Photo: Jackhammer, and Prepare Hole
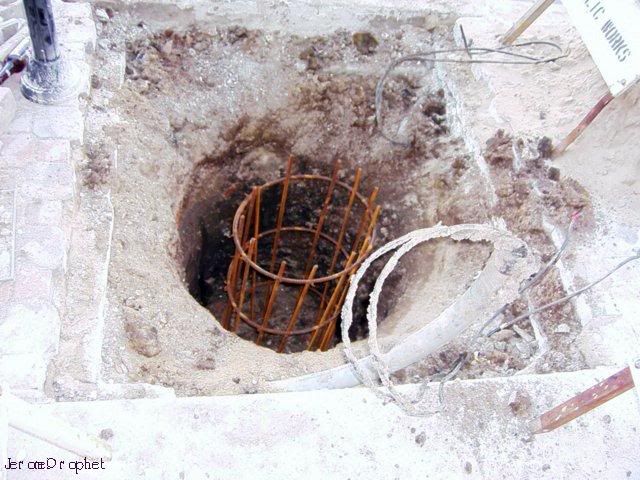
Photo: Install Steel Reinforcement
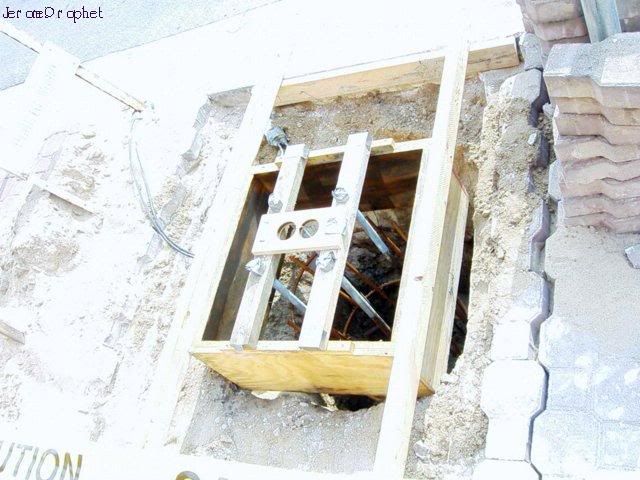
Photo: Build Frame
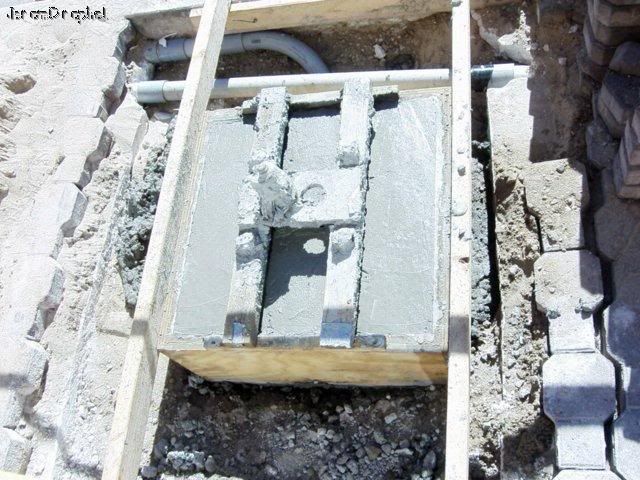
Photo: Pour Cement & Allow To Set

Photo: This is product prior to grinding (see post below)
These photos were taken over several days. It takes several days to install each street lamp as the cement needs to set. I'll try, and follow this process to it's natural conclussion.
For some folk out there, I'm sure you're wondering why I'm posting this. Why not?

2 comments:
Because people will try this at home!
Bravo! I'm gonna mention this blog at tomorrow night's union meeting!
Post a Comment